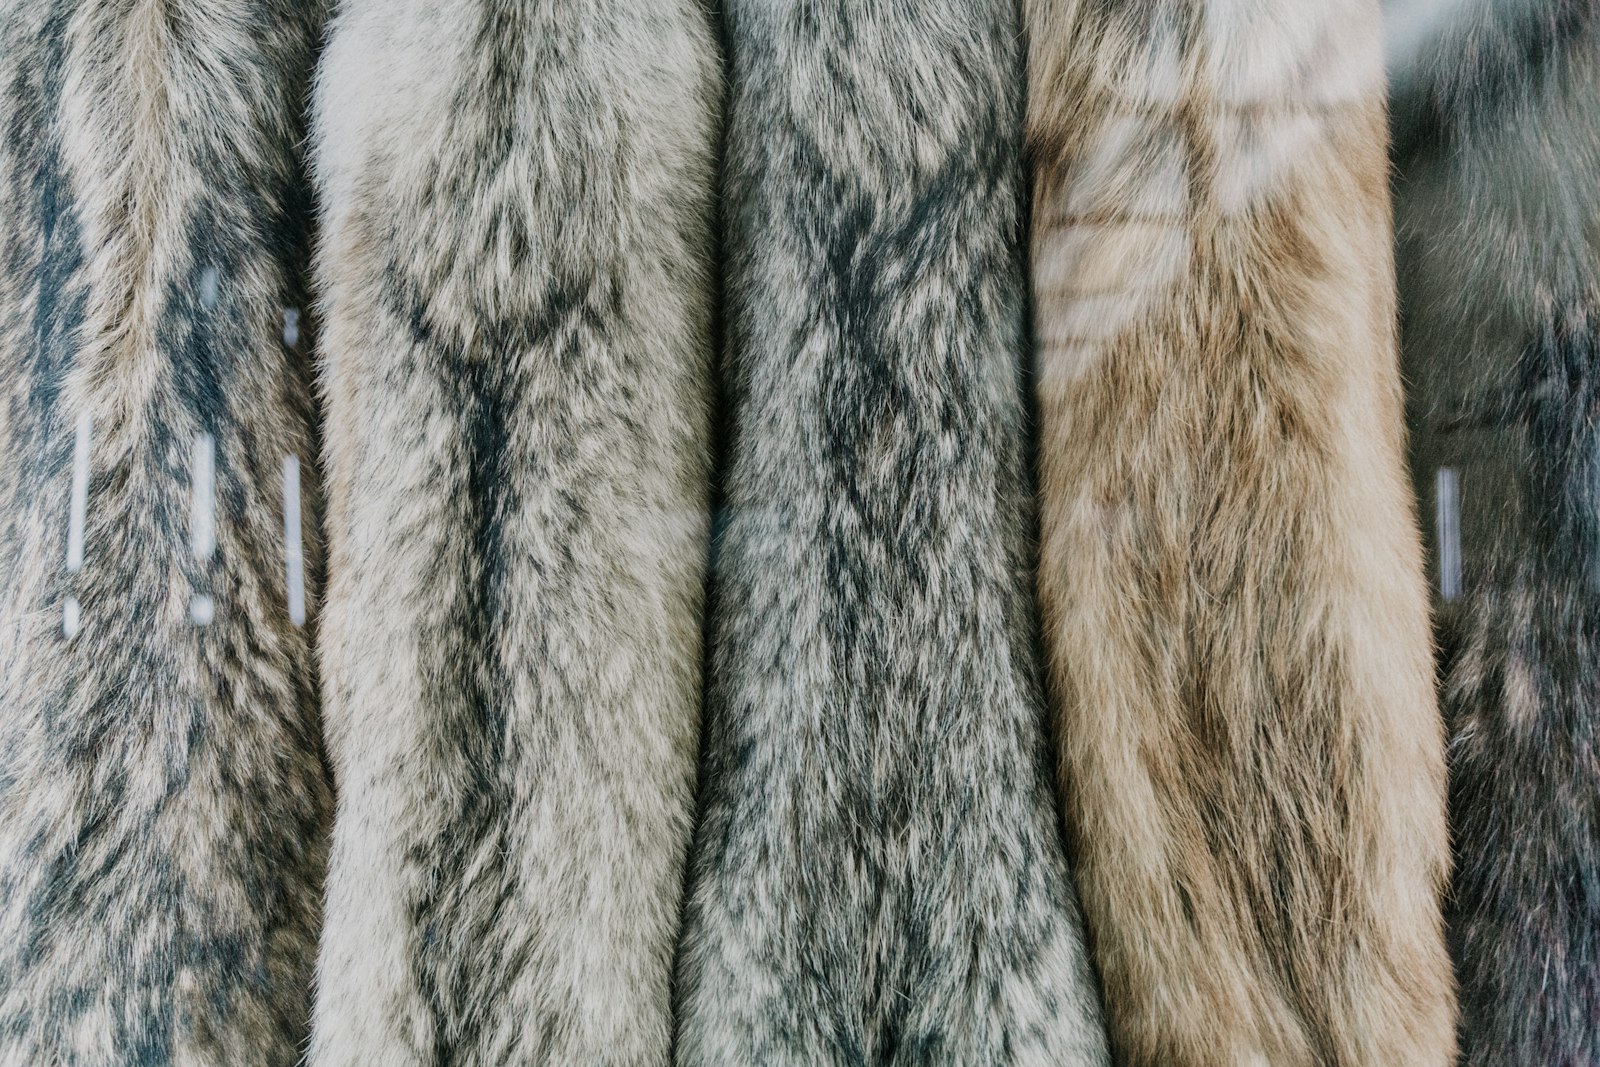
A fur hat is one of the few purchases where the difference between good and mediocre is invisible until you are wearing it in real cold. A hat cut from mismatched pelts, sewn on a factory line, and lined with a stiff synthetic will look fine on a shelf and feel wrong within a season — shedding, twisting, and sitting heavy on the brow. Because the flaws show up late, buyers end up paying twice. A hand-sewn fur hat avoids most of that, but only if the handwork is real. The term gets used loosely, and plenty of hats described as handmade are assembled from pre-cut panels with a few finishing stitches done by hand. The difference lives in details you can check in about ten minutes with your eyes and fingers. This guide breaks down exactly what to inspect — the pelts, the pattern, the seams, the lining, the finishing — and what each detail tells you about how the hat will wear after five winters, not five weeks.
Why Hand-Sewing Changes How a Fur Hat Wears
Fur is not fabric. It has a direction of growth, a nap that catches light differently depending on which way it faces, and a leather underside that stretches and relaxes with moisture and body heat. A machine sews at a fixed speed and tension, which is why factory fur garments tend to be built from small, uniform pieces where the nap direction is easier to control. A hand sewer works the opposite way. They can feel resistance through the needle, adjust tension stitch by stitch, and join larger, more deliberate panels without crushing the hair follicles at the seam line. That is the difference between a hat that holds its shape and one that develops a ridge where the panels meet. Hand-sewing also makes pattern matching possible. When a maker cuts pelts by hand, they can align the natural markings across a seam so the hat reads as one continuous surface rather than a patchwork. On a mink or fox hat, that alignment is the single most visible sign of care.
- Nap direction: All hair should flow the same way across the hat, usually downward from crown to brim. Run your palm over the surface — it should feel smooth one way and slightly rough the other, consistently.
- Seam feel: Press a fingertip along an interior seam. Hand-sewn seams sit flat and pliable; machine seams often feel like a stiff cord under the leather.
- Panel size: Fewer, larger panels signal hand cutting. A crown made of many small wedges usually means the maker was working around defects or using remnants.
The Pelts: What You Are Actually Paying For
Most of a fur hat's cost sits in the raw material, so the pelts deserve the closest look. Quality fur is dense, springy, and uniform in height. Run your fingers against the nap and then with it: the hair should spring back rather than staying flattened or coming away in your hand. Look at the guard hairs — the longer, glossier hairs that sit above the underfur. On a well-handled pelt they are intact and evenly distributed. Broken or sparse guard hairs, especially along the brim where a hat takes the most handling, suggest the fur was over-processed or the hat has already seen hard wear. Color and markings matter too, but not in the way most buyers assume. A natural, slightly uneven tone is normal and often desirable. What you want to avoid is patchiness — distinct blocks of lighter and darker fur across the crown, which usually means pelts from different animals were mixed without matching.
- Density: Part the fur with two fingers. You should not see bare leather or a wide gap between hairs.
- Guard hair integrity: Check the brim and crown edge, where handling is heaviest. Broken tips there will spread.
- Consistency: Compare the left and right side of the crown under daylight. Markings should flow, not clash.
- Smell: A faint natural scent is fine. A sharp chemical smell can indicate heavy dyeing or inadequate tanning.
Construction Details That Separate Good Hats From Great Ones
Once the fur passes inspection, the structure decides how the hat behaves. A well-built fur hat has a shaped crown, a brim that holds its line, and an interior that will not fight your head. The most common failure is a crown that has been blocked over a stiffener so heavy that the hat never softens to the wearer. Ask how the crown was formed. Hand blocking over a wooden form lets the maker work the fur gradually, keeping the leather supple while setting the shape. The hat should feel firm enough to hold its silhouette but flexible enough to give slightly when you press the sides. The brim deserves its own check. On a classic fur hat, the brim is often the first place to distort, because it absorbs the most contact. A brim that has been properly interlined will hold a gentle curve without a visible wire or a hard edge.
- Crown firmness: Press the sides gently. It should give a little and return to shape, not crease permanently.
- Brim line: Sight along the brim edge. It should be even, with no ripples or a hard, stiffened lip.
- Weight: A hat that feels unusually heavy for its size often carries excess stiffener or a bulky lining.
- Interior finish: Lift the sweatband. The stitching underneath should be tidy and even, not a knot of loose threads.
Lining, Sweatband, and Fit
The inside of a fur hat tells you whether the maker expected it to be worn for years. A silk or fine satin lining slides over hair without friction and lets the hat settle without shifting. Coarse polyester linings grab, trap heat unevenly, and tend to wear through at the forehead first. The sweatband is the part that touches skin directly, so its material matters for comfort. A leather or soft grosgrain band absorbs a little moisture and holds the hat in place. A thin, glued-in band will eventually lift at the edges and leave residue on the fur. Fit is not a matter of taste here — it is a matter of structure. A fur hat should sit level, about a finger's width above the eyebrows, and stay put when you turn your head. If it needs constant adjustment, the crown is the wrong shape for you, not just the wrong size.
- Lining material: Silk or fine satin over coarse synthetics. Check that it is sewn in, not glued.
- Sweatband: Leather or grosgrain, stitched rather than glued, with no exposed adhesive.
- Fit check: Turn your head side to side. The hat should follow your head, not slide across it.
- Ear and brow clearance: The brim should not press on the brow or lift off the ears when you move.
Hand-Sewn vs. Factory-Made: A Side-by-Side Comparison
The two categories are not close in construction, but the differences are easy to miss in a photograph. This is the practical breakdown of what changes when a hat is sewn by hand rather than assembled on a line.
- Seam construction | Hand-sewn | Machine-sewn: Hand-sewn seams are tensioned stitch by stitch, so they stay flat and flexible. Machine seams are faster and more uniform but often sit stiff and can crush the hair at the join.
- Pelt matching | Hand-sewn | Machine-sewn: A hand maker aligns nap and markings across panels so the hat reads as one surface. Machine assembly prioritizes panel uniformity, which can leave visible tone shifts.
- Panel size | Hand-sewn | Machine-sewn: Hand cutting allows fewer, larger panels. Machine work usually relies on many small pieces that are easier to feed through the machine.
- Shape retention | Hand-sewn | Machine-sewn: Hand blocking works the leather gradually and keeps it supple. Factory blocking tends to use heavier stiffeners to hold shape quickly.
- Repairability | Hand-sewn | Machine-sewn: Hand-sewn hats can usually be re-stitched and re-blocked. Glued or heavily fused construction is often not worth repairing.
- Cost | Hand-sewn | Machine-sewn: The handwork and the pelt selection drive the price up. The trade-off is a hat that can be maintained rather than replaced.
How to Inspect a Hat Before You Buy
Bring this sequence to any in-person viewing, and it will take you about ten minutes. If you are buying remotely, ask for these same checks in writing and in daylight photographs — a maker who works by hand will have no trouble answering them. Start in natural light, because artificial lighting hides tone shifts and dull guard hairs. Work from the outside in, then finish with the fit, since fit is the one thing that cannot be corrected later.
- Step 1 — Daylight check: Examine the crown and brim under daylight for patchiness and broken guard hairs.
- Step 2 — Nap test: Sweep your palm in both directions. The resistance should be consistent across the whole hat.
- Step 3 — Seam inspection: Turn the hat inside out if possible. Seams should be flat, even, and free of glue.
- Step 4 — Structure test: Press the crown and sight along the brim. Both should recover their shape.
- Step 5 — Interior review: Check the lining and sweatband for stitching quality and material.
- Step 6 — Fit: Wear it for several minutes. If you are already adjusting it, keep looking.
Care and Storage: Protecting the Handwork
A hand-sewn hat rewards basic maintenance, and most damage comes from storage rather than wear. Fur needs to breathe and needs to keep its shape between seasons. A hat stuffed into a plastic bag will flatten, dry out, and pick up a musty smell that is difficult to remove. Store the hat on a stand or in a box that supports the crown, away from direct sunlight and heat sources. Sunlight fades and dries fur over time, and a radiator or vent will do the same faster. If the hat gets wet, shake it out and let it dry at room temperature — never over a heater. For cleaning, brushing, and reshaping, a fur specialist is worth the trip. Hand-sewn construction is repairable precisely because it was built by hand, and a professional can re-stitch a seam or re-block a crown without replacing the hat.
- Storage: Use a breathable box or a hat stand that supports the crown. Avoid plastic bags and tight shelves.
- Light and heat: Keep away from direct sun, radiators, and vents, which dry and fade the fur.
- Wet fur: Shake off moisture and air-dry at room temperature. Never dry over a heat source.
- Brushing: Use a soft fur brush in the direction of the nap to lift dust and restore loft.
- Professional care: Schedule cleaning and reshaping with a fur specialist rather than attempting it at home.
Frequently Asked Questions (FAQ)
- How can I tell if a fur hat is genuinely hand-sewn? — Look at the seams and the panel layout. Hand-sewn hats typically have fewer, larger panels, flat and flexible seams, and matched nap direction across the crown. Glue residue or a stiff cord-like seam under the leather usually indicates machine or fused construction.
- Which fur is best for a hand-sewn hat? — It depends on how you will wear it. Dense, springy pelts with intact guard hairs hold shape and handle cold well. The best choice is the one with even density and consistent markings, regardless of type, because those qualities determine how long the hat keeps its look.
- Is a hand-sewn fur hat worth the higher price? — It can be, if you plan to wear it for years. Hand construction allows for pelt matching, a supple blocked crown, and repairability. A cheaper hat that flattens or sheds after a season often costs more over time because it has to be replaced.
- How should a fur hat fit? — It should sit level, roughly a finger's width above the eyebrows, and stay in place when you turn your head. If you find yourself adjusting it constantly, the crown shape or size is wrong for you, and no amount of breaking in will fix it.
- Can a hand-sewn fur hat be repaired? — Usually yes. Because it was stitched rather than glued or fused, seams can be re-stitched and the crown can often be re-blocked. A fur specialist can assess whether a repair is worthwhile.
Conclusion
A hand-sewn fur hat is worth the scrutiny because the details that make it good are the same details that keep it good. Check the pelts for density and intact guard hairs, confirm the nap runs one direction, press the crown and sight the brim, and look inside at the lining and sweatband. Do that, and you will know within ten minutes whether the hat was built to be worn for a decade or replaced in a season.
Explore Hand-Sewn Fur Hats at Furixe
Furixe has been cutting and hand-sewing fur hats and coats since 1968, working from pelts selected for density, nap, and matched markings. If you are ready to see the difference in person, explore the Fur Hats collection and review the house's process before you choose.